WordPress is the most popular Content Management System, and if you are a blogger, you have encounter Maximum Upload Size Limit on WordPress.
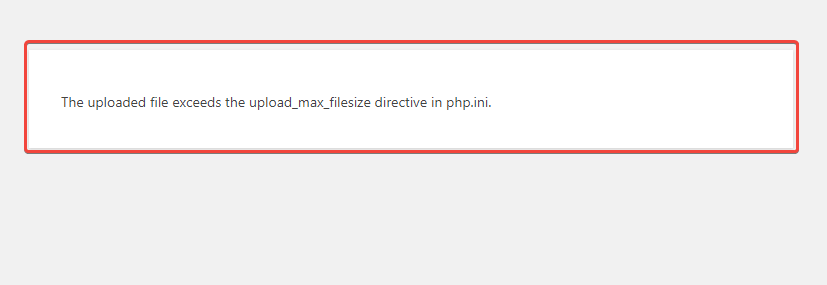
This issue is mostly seen when the website owner uses limited shared hosting. When your file uploads through WordPress, then showing “The uploaded file exceeds the upload_max_filesize directive in php.ini.”
Then what you should do, there are two methods: editing the php.ini file from your cPanel file manager, or the second is file upload directly through FTP Client (e.g., FileZilla).
But there are other problems with FTP Client, and if you want to upload photos for your articles or blog post, this FTP method is complicated.
So, we will see how to fix this WordPress upload_max_filesize error. We are going to explain the two ways.

Increase WordPress ‘upload_max_filesize’ through cPanel.
In the case of a new blogger, mostly they use shared hosting with cPanel. So Host provider gives a pre-configured setup.
So after purchasing these hosting customer faces these types of problems. One of them is the WordPress file upload limit, and you can contact your host provider and fix this problem through them or do it yourself.
Some users or bloggers use Cloud hosting with pre-configured Software like “Bitnami WordPress certified by Automattic,” also, they face this type of “upload_max_filesize” error. So they can also fix it by themselves.
Edit php.ini file located in public_html folder
Login to your hosting dashboard and go through file manager and find “public_html,” you can see below in the image.
After clicking public_html, then scroll down and find “php.ini,” click the edit button by clicking the mouse’s right button or just clicking on edit. See below in the Image.

Best Affordable cPanel Hosting
Get Up to 86% of on Namecheap shared hosting, and get a free domain name with free Who-is protection and 50 SSL certificates.
Add these lines of code in your php.ini file in cPanel
When we click on edit, then cPanel would prompt us to select txt encode, leave them just hit enter, and open a new window.
Now add the following lines of code:
Upload_max_filesize = 64M
Post_max_size = 64M
Max_execution_time = 300
Note:- These lines of code are set for only 64 Megabytes. If you need more, then change the variable as your necessity.
After adding this line of code just hit “Save Changes”.

Check the Increased size of upload_max_filesize in WordPress Dashboard.
After adding these code lines, we should check our maximum upload file size. So go to WordPress Dashboard and click “Media” and “Add New,” then WordPress will show the limit on our screen.

Increase WordPress upload_max_filesize through File Zilla or FTP Client
We can also increase our WordPress upload_max_filesize using FTP Client Software like File Zilla. Connect to your hosting server using your IP Address or Password.
These credentials you can get from your host provider or your hosting dashboard. Retrieve credentials and connect to the server.
Connect to Your Server Through FTP and Click public_html
Now, we will find “public_html” then click on it. Now down side will show some files, find “php.ini” and click your mouse right button.

Right Click on php.ini for editing
File Zilla will prompt you to “Download” and “View/Edit,” You should select one option of them. Now a new window will open and encourage you to choose the editor. If you have downloaded “Notepad++,” choose this one, or by default Windows Notepad will open.

Add these lines to increase WordPress upload_max_filesize.
Upload_max_filesize = 64M
Post_max_size = 64M
Max_execution_time = 300
The same as before in cPanel, you should add these lines of code and save the file. If you download and then edit the ‘php.ini‘ file, you should upload the edited file, drag, and drop.

After adding these code lines, you have saved the file and need to push the origin server. And after saving the file, return to the WordPress dashboard and check the media upload size.
Wrapping Up
Friends, you will find various methods to increase your WordPress media upload size on the Internet. I have explained one tricks to increase the max upload size.
In some cases, this method should work with your server; maybe not because of the server compatibility or types of server.
Don’t be serious; shared hosting users can easily resolve this issue by contacting server support. If you haven’t found any solution, you can contact me.
By-the-way, please don’t forget to share this article and leave your beautiful thought in the comment section.

